Wave-by-wave table
A wave-by-wave read of ShredDead: what each of the five waves asks, how many players clear it, and where the run turns from defence into a grind.
A wave-by-wave read of the ShredDead run, built from the achievement tracking Steam publishes. Each wave has its own achievement, which means each wave has a real completion number instead of a guess. 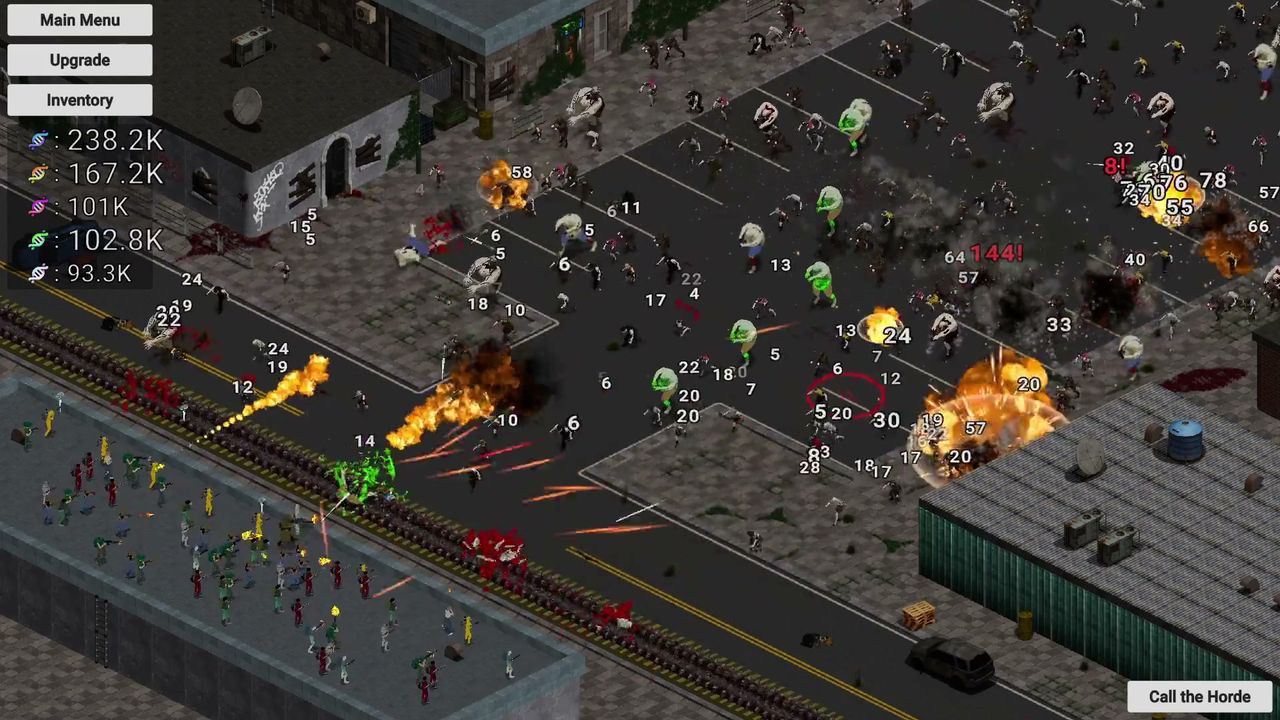
The table
| Wave | Achievement | What changes | Players who cleared |
|---|---|---|---|
| 1 | First Wave | The gun handles it; you learn what the street looks like | 82.3% |
| 2 | Second Wave | Your first real purchase decides how long this takes | 52.5% |
| 3 | Third Wave | One kill zone is no longer enough | 35.0% |
| 4 | Fourth Wave | The tree has to be deep in one lane, not wide | 29.8% |
| 5 | Fifth Wave | DNA income has to keep up with enemy health | 26.1% |
| All 5, highest difficulty | Final Stand | Same run, tougher curve | 20.3% |
Read on 28 October 2026.
The shape of the drop
Plot the fall-offs and there is one obvious feature:
- Wave 1 to 2: down 29.8 points
- Wave 2 to 3: down 17.5 points
- Wave 3 to 4: down 5.2 points
- Wave 4 to 5: down 3.7 points
The curve is not a difficulty wall at the end; it is a filter right after the tutorial. Whatever people are doing wrong, they are doing it in the first fifteen minutes. The most likely culprits are the two covered on the beginner guide: spreading DNA across branches, and buying slots instead of levels.
What each wave asks
Wave 1 exists to show you the interface. Kill speed is not a question yet.
Wave 2 is the first wave where kill speed matters, because it is the first where the spawn count outpaces a bare main gun. If you bought damage, it is two minutes. If you bought three branches, it is ten.
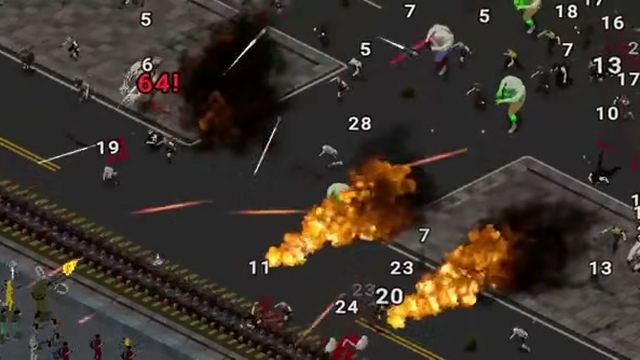
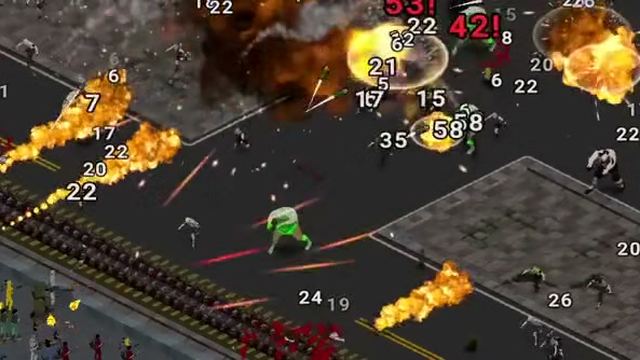
Wave 3 is where the second kill zone earns its keep. A single forward position that covered waves 1 and 2 starts leaking at the edges, and the shredder quietly starts carrying you.
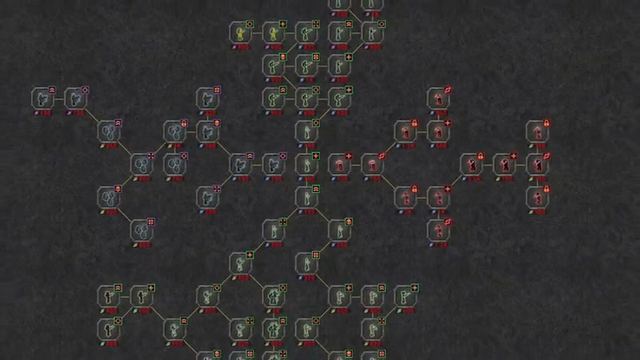
Wave 4 is the depth check. A player who opened six branches is now behind someone who finished two, because the enemy curve scales on total health while the tree scales per node.
Wave 5 is an income check as much as a damage check. By this point the question is whether your DNA per minute can feed the next tier of nodes at all.
After the last wave
The run continues. Endless tiers keep scaling, difficulty keeps the enemy curve alive, and prestige resets the whole thing for perks. None of that adds new content — the difficulty page is blunt about it — but it is what the numbers are for once the five waves are down.
Using the table
If you are stuck on a specific wave, the useful question is what that wave asks and whether your last five purchases answered it. Wave 3 problems are placement problems; wave 4 and 5 problems are almost always depth problems. Builds gives three orders that get through all five.