ShredDead beginner guide
Your first 30 minutes in ShredDead: what to buy first, which DNA colour to chase, when to move your shooters and why you should not touch prestige yet.
ShredDead gives you one street, a gun that fires itself and no way to lose. That freedom is the trap: the first thirty minutes decide whether wave 2 takes ten minutes or an hour, because everything you spend early compounds. 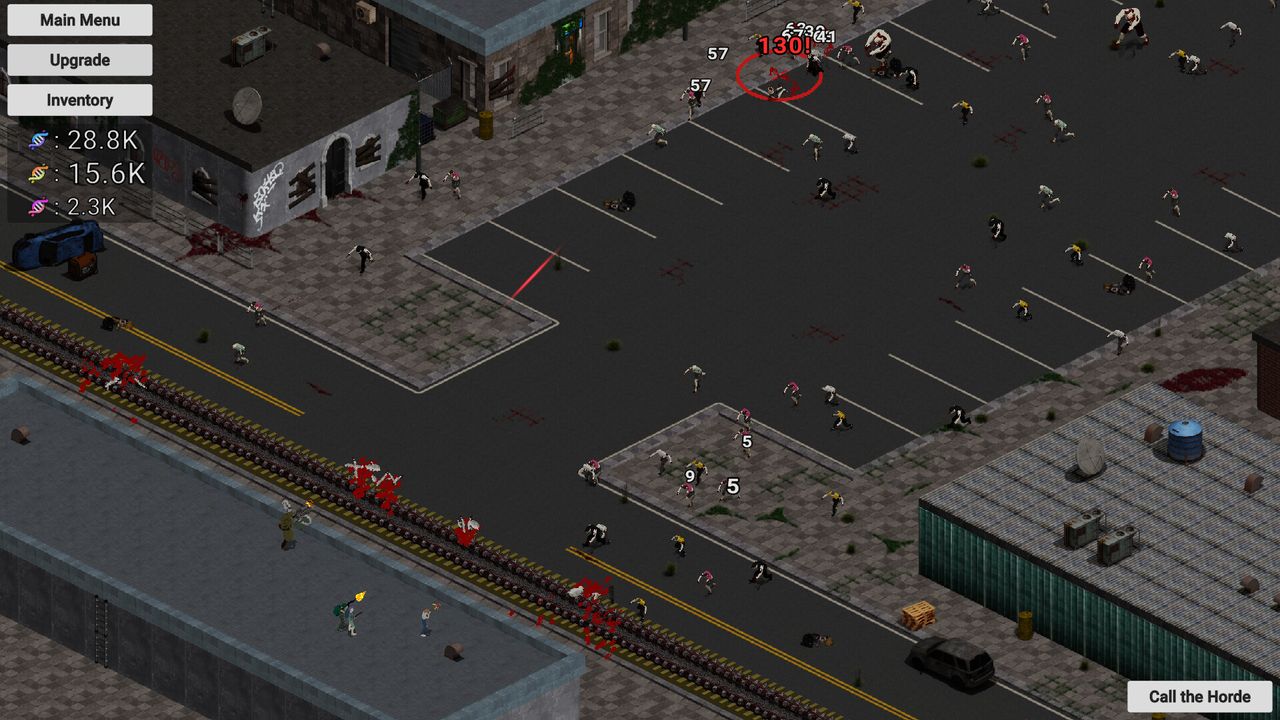
Minute by minute
- Watch the first wave without buying anything. Your main gun auto-fires down the lane. Let one wave run so you can see where zombies bunch up; that bunching point is where your shooters belong.
- Spend blue DNA on damage before anything else. The opening currency comes in faster than the tree can absorb, and the page on DNA tiers and costs explains why holding it is wasted value.
- Take the cheap slots in the tree, not the expensive branches. A slot you can afford now beats a branch you cannot finish. Slots are what the skill tree page is actually about.
- Move your first defender forward, not backward. Kill zones start early on the street. A defender parked at the barricade shoots late and lets zombies stack.
- Only then touch the shredder. The shredder kills whatever reaches it, which means it teaches you nothing about where your line is leaking.
The two early mistakes
Buying a wide tree instead of a tall one. Unlocking a new node is cheap and useless on its own; the first upgrade level on a node you already own is where the damage comes from. The "Full Skill Tree" achievement sits at 23.7% while "Mastery" (fully upgrade every skill) sits at 18.5%, and that gap is exactly the cost of spreading thin.
Prestiging early. Prestige is real and the discount behind it is good, but resetting at wave 3 throws away a run you have not finished. Finish the five waves first; the prestige page covers when the reset actually pays.
What to buy in the first thirty minutes
| Priority | Where it goes | Why |
|---|---|---|
| 1 | Main gun damage | It fires without input, so every point of damage works while you shop |
| 2 | One defender, placed forward | Turns a single kill zone into two |
| 3 | Cheap tree slots | Opens the branch you will want at wave 3 without committing DNA |
| 4 | Inventory slot | Gear drops whether or not you have room to keep it |
| 5 | Anything yellow-DNA gated | Yellow is the currency that runs short, so read the price first |
When to call the horde
The Call the Horde button is bottom-right and it is optional. Summoning one throws a heavier wave at you on demand, which is the fastest way to farm loot when the street is quiet. Do it when your line is comfortably holding and your inventory has space, never while you are mid-purchase in the tree. Failing a horde is what one player report ties to loot stopping until restart, so treat a horde as a deliberate push rather than a panic button.
Reading the numbers on screen
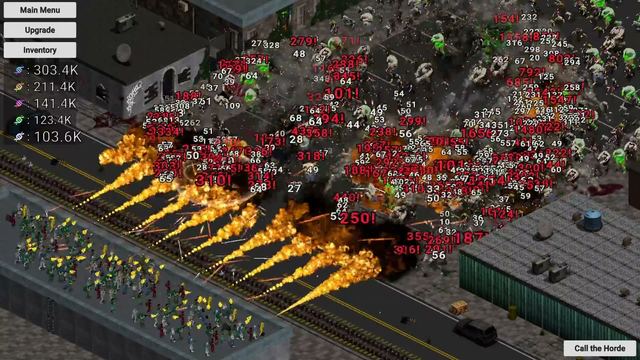
Five counters sit down the left edge, one per DNA colour. Damage numbers pop in yellow over the street; the four-digit ones with exclamation marks are your critical hits. There is no health bar for the outpost because there is nothing to lose — the only number that matters is how fast the street clears.
Once the first wave falls, the rhythm is set: kill, loot, sell what does not beat your current gear, spend DNA, push one node deeper. The how to play page walks that loop in full, and the builds page has three plans to follow once you know what the tree looks like.