How to play ShredDead
The ShredDead loop end to end: auto-firing guns, calling the horde, looting corpses, spending DNA and finishing all five waves without a fail state.
ShredDead plays itself at the shooting layer and asks you to manage three things: where your people stand, what you buy with DNA, and when you deliberately make the game harder. 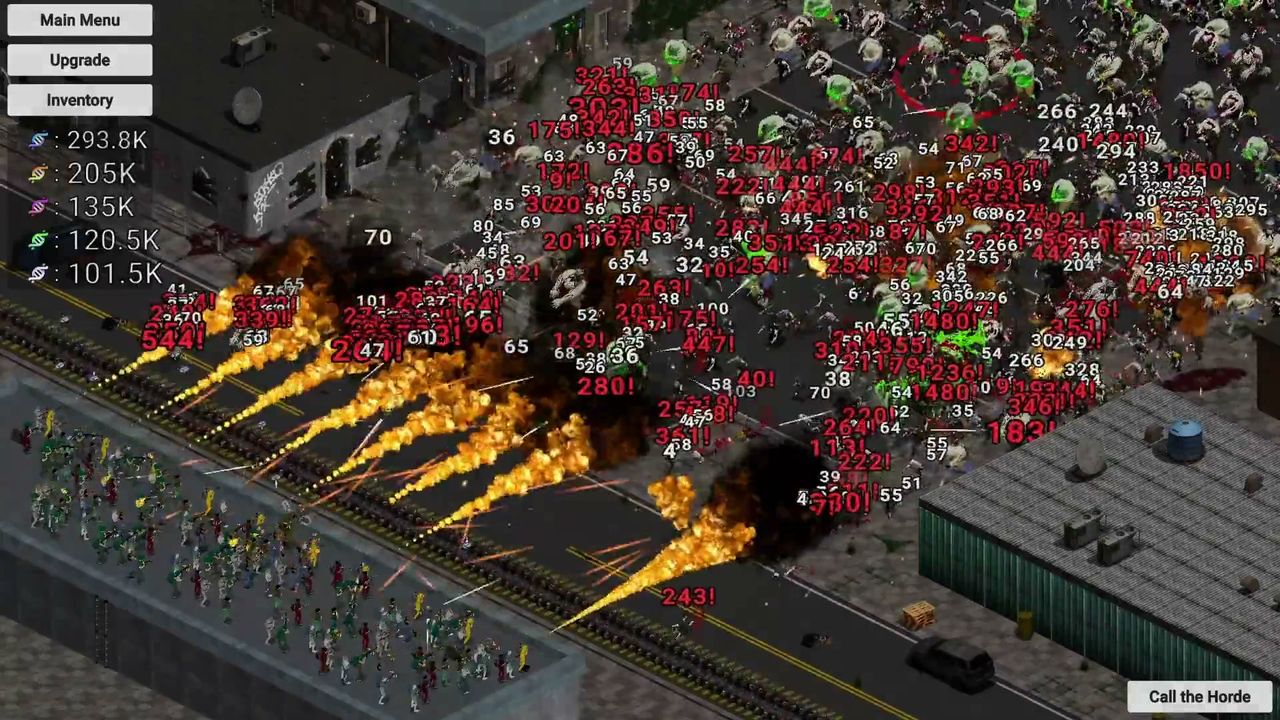
The loop in one pass
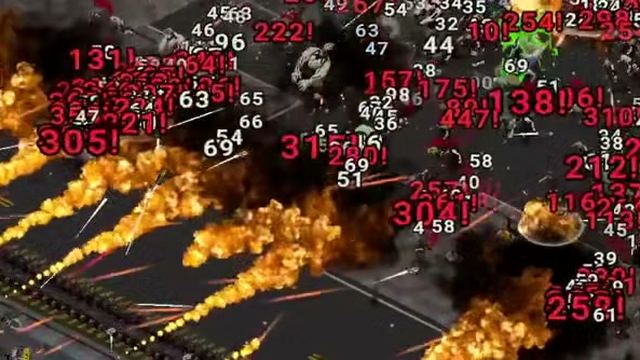
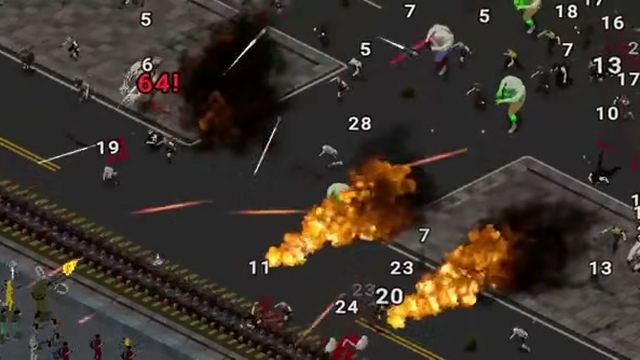
Zombies spawn at the edge of the map and walk toward your outpost. Your main gun fires on its own. Grunts and specialists shoot whatever comes into range. Anything that survives long enough reaches the shredder at the back and stops existing. Corpses drop loot, loot becomes gear or money, money and DNA buy upgrades, upgrades let you survive the next, bigger wave. Then you call a horde, or you push on to wave 5.
The three screens
| Screen | What you do there |
|---|---|
| Street view | Place and move units, watch the lane, press Call the Horde |
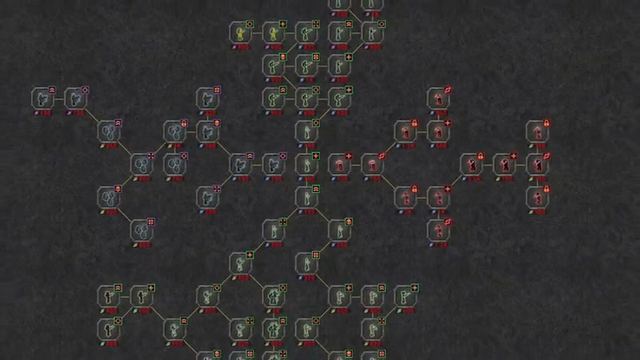
| Upgrade | Spend DNA on the node graph; this is where most of the game is |
| Inventory | Compare dropped gear, equip the better piece, sell the rest |
The top-left of the interface holds Main Menu, Upgrade and Inventory. There is no pause while you are in the upgrade screen — numbers keep running — which is intentional in an incremental game and is the first thing every new player complains about.
Controls
- Mouse for everything: selecting units, panning, and the node graph.
- Mouse wheel zooms the skill tree. Zoom out when the lower branches go off-screen; the camera snaps to centre when you zoom in, which is the documented quirk on the known issues page.
- Full controller support is listed on the store, including DualShock and DualSense. The game is playable on a pad, though the tree is faster with a mouse.
What you actually control
- Placement. Moving a defender ten metres forward changes how long each zombie lives under fire.
- Priorities. DNA is finite even when it feels infinite. Loot and rarity explains why selling a Rare item can beat wearing it.
- Pace. The horde button is a throttle. Nothing forces you to press it, and pressing it early is the cheapest way to die of your own ambition — except you cannot die, so you just waste time.
- The reset. Prestige wipes the run and returns points. Details on the prestige page.
A run, start to finish
Wave 1 is a tutorial you cannot fail. Wave 2 is where the achievement data turns: 82.3% of players clear wave 1, 52.5% clear wave 2. That drop is not difficulty, it is boredom plus a bad first purchase. By wave 3 you should have a second kill zone, by wave 4 your tree should be leaning into one weapon family, and wave 5 is a check on whether you upgraded damage or spread across everything.
After wave 5 the run keeps going in endless tiers if you want it to. The clear itself — all five waves on the highest difficulty — is the Final Stand achievement at 20.3%.
Where to go next
If you are still choosing what to buy, start with the beginner guide. If the tree is the confusing part, the skill tree page is the one to read. The wave table tells you what each wave asks before you get there.