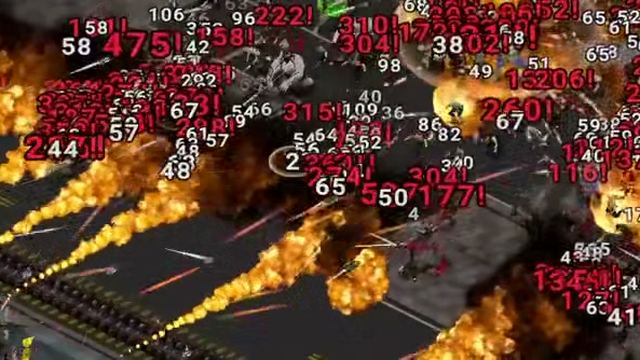
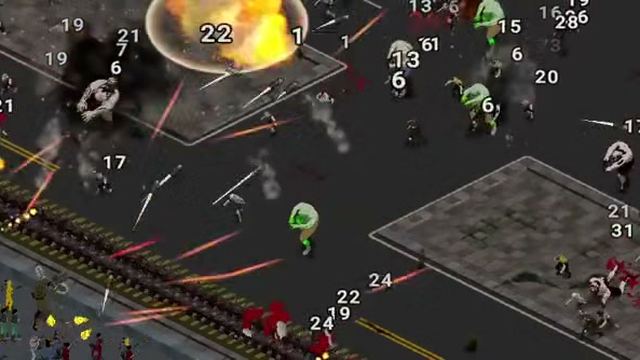
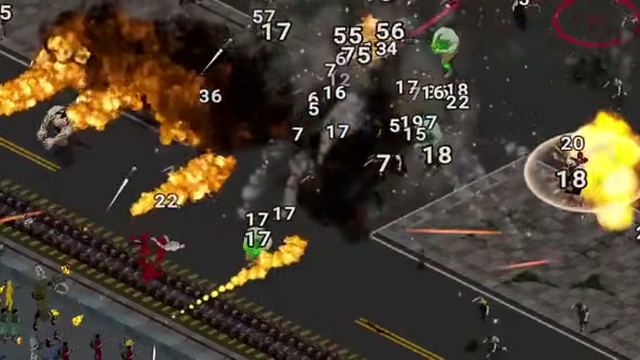
Three ShredDead builds
Three ShredDead builds that survive contact with the real build: shredder-first, grunt wall and grenade launcher, with the DNA order each one wants.
Three plans for the five-wave clear. Each one is an order to spend DNA in, not a list of god-roll gear, because gear is random and the tree is not. 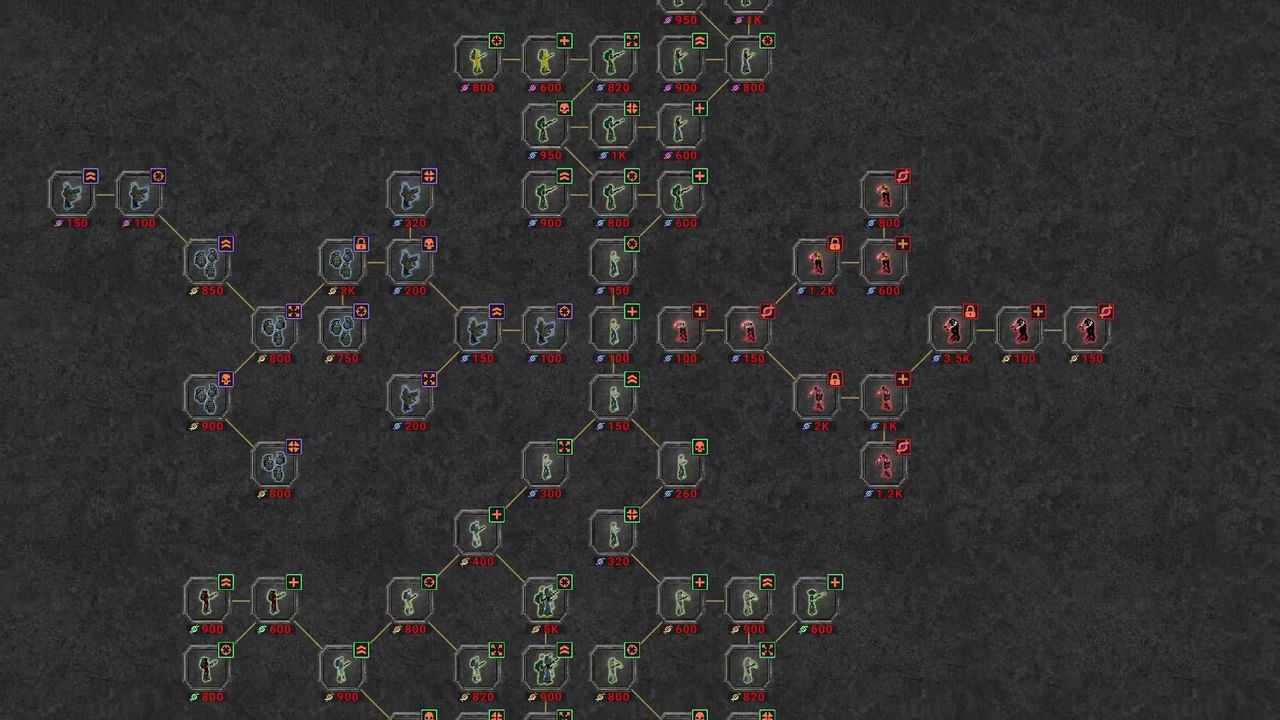
Before the builds: the rule they all obey
Damage first, breadth never. Zombies scale on total health, so the only thing that keeps a wave short is kill speed. Every build below spends its first several purchases on the same three things — main gun damage, main gun rate, one unit's damage — and only then diverges.
If you have not read the skill tree page yet, read it first; the builds assume you know what a slot is versus a level.
Build 1: Shredder-first (idle friendly)
For playing with the game in the background.
| Order | Purchase | Why |
|---|---|---|
| 1 | Shredder capacity | More kills with zero input |
| 2 | DNA income nodes | Compounds while you are away |
| 3 | Main gun damage | Covers the gap when the shredder is saturated |
| 4 | Inventory slots | Loot accumulates whether you look or not |
Strength: works while you do something else. Weakness: slow to clear wave 5, because the shredder is a floor, not a ceiling. Mass Shredding sits at 70.2% while 1,000 general kills sits at 92.1% — most players outgrow the shredder rather than the other way round.
Build 2: Grunt wall
For a steady, forgiving clear.
| Order | Purchase | Why |
|---|---|---|
| 1 | Grunt damage | Cheap, and there are many of them |
| 2 | Grunt fire rate | Multiplies the above |
| 3 | One defender moved forward | Adds a second kill zone for free |
| 4 | Main gun damage | Backs up the wall |
Strength: the wall does the work and survives your mistakes. Weakness: it wants inventory to keep pace, because grunts only carry you as far as their gear.
Build 3: Grenade line
For players who want the fastest wave clear.
| Order | Purchase | Why |
|---|---|---|
| 1 | Grenade launcher cycle | The launcher is on a separate timer from the gun |
| 2 | Main gun damage | Keeps the base lane clear between launches |
| 3 | Rifleman damage | Long range at the far choke |
| 4 | DNA income | Funds the expensive late nodes |
Strength: clears waves fastest once it comes online. Weakness: expensive, and it is the build most punished by the yellow-DNA shortage described on DNA tiers and costs.
What none of these do
They do not prestige early. They do not evolve zombies before a damage tier — timing is on the zombie evolution page. And they do not chase rarity for its own sake: a high-roll Rare beats a low-roll Epic, as loot and rarity explains.
If you only take one thing
Spend your first four purchases on the same lane. Whatever you pick, the run gets shorter. The builds differ in which lane; they agree on not splitting it.